UDOO Neo Documentation
Web Control Panel
The UDOO Neo's Web Control Panel is a utility designed to:
- Easily configure your UDOO Neo, from the Wireless Connection to the UDOO Neo's hostname;
- Check its connection status;
- Learn how to develop basic projects;
- Test simple Arduino sketches on the fly;
- Expose the Documentation;
How to connect to the UDOO Neo Web Control Panel
Once you followed the USB Direct Connection guide and installed all the necessary drivers you can connect to the UDOO Neo Web Control Panel through one of these ways:
- connect UDOO Neo to your computer via USB, then open a browser on your computer and type
192.168.7.2 - open a browser and type the IP address of UDOO Neo if you know it and if Neo is connected to the same network of your host computer.
- open a browser and type udooneo.local. Beware to have installed Bonjour on your Windows computer. On Mac and Linux you should have what you need pre-installed: Bonjour on Mac OS and Avahi on Linux. N.B: This is a beta feature, thus we suggest to go for the first two methods.
Dashboard
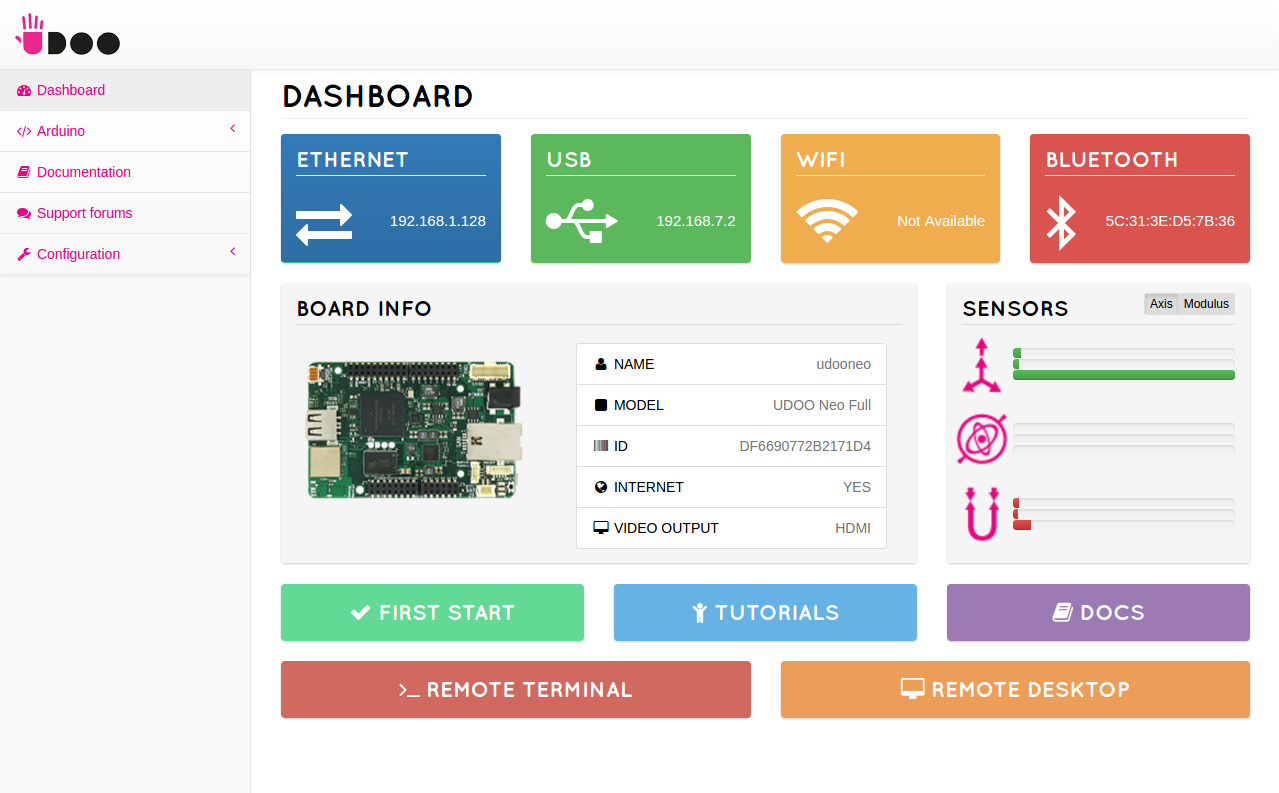
The Dashboard gives you a quick insight on the status of your UDOO Neo:
- At the top, you'll find an overview of board's connectivity, indicating whether Ethernet, USB, Wlan and Bluetooth are connected, and their IP address;
- In the center, you can find board model and unique ID. On the right, there are axis and modulus values for the Accelerometer, Gyroscope and Magnetometer;
- The other tiles are the starting point on discovering UDOO Neo's capabilities.
Arduino

On this section you can try the integrated Arduino M4 Processor. You can upload two simple Hello World sketches, Fade and Blink (from the Samples section) or code your own sketch using th Web IDE.
Ardublockly allows to build Arduino sketches graphically, interconnecting logic blocks, without writing any code.
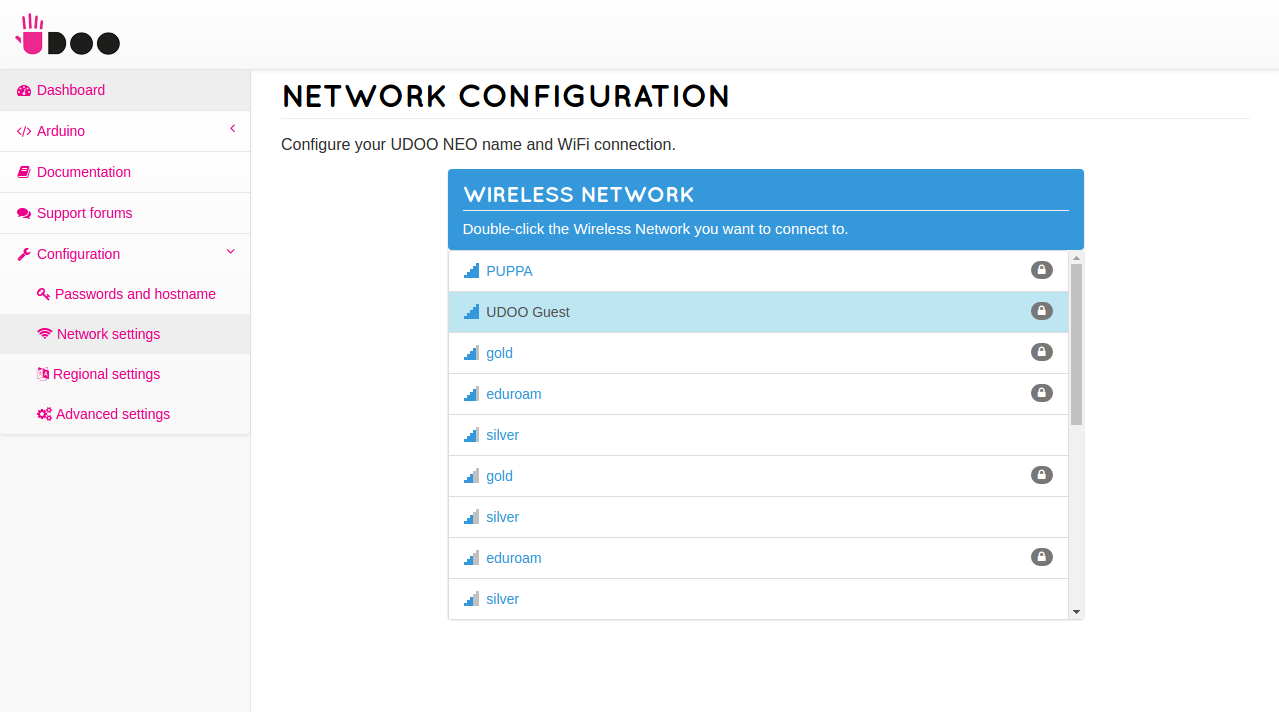
Configuration
This section helps you to configure your board and connect it to a wireless network:
- On "Password and hostname", you can change your passwords and set a name for your board;
- On "Network settings", you can connect to Wi-Fi networks;
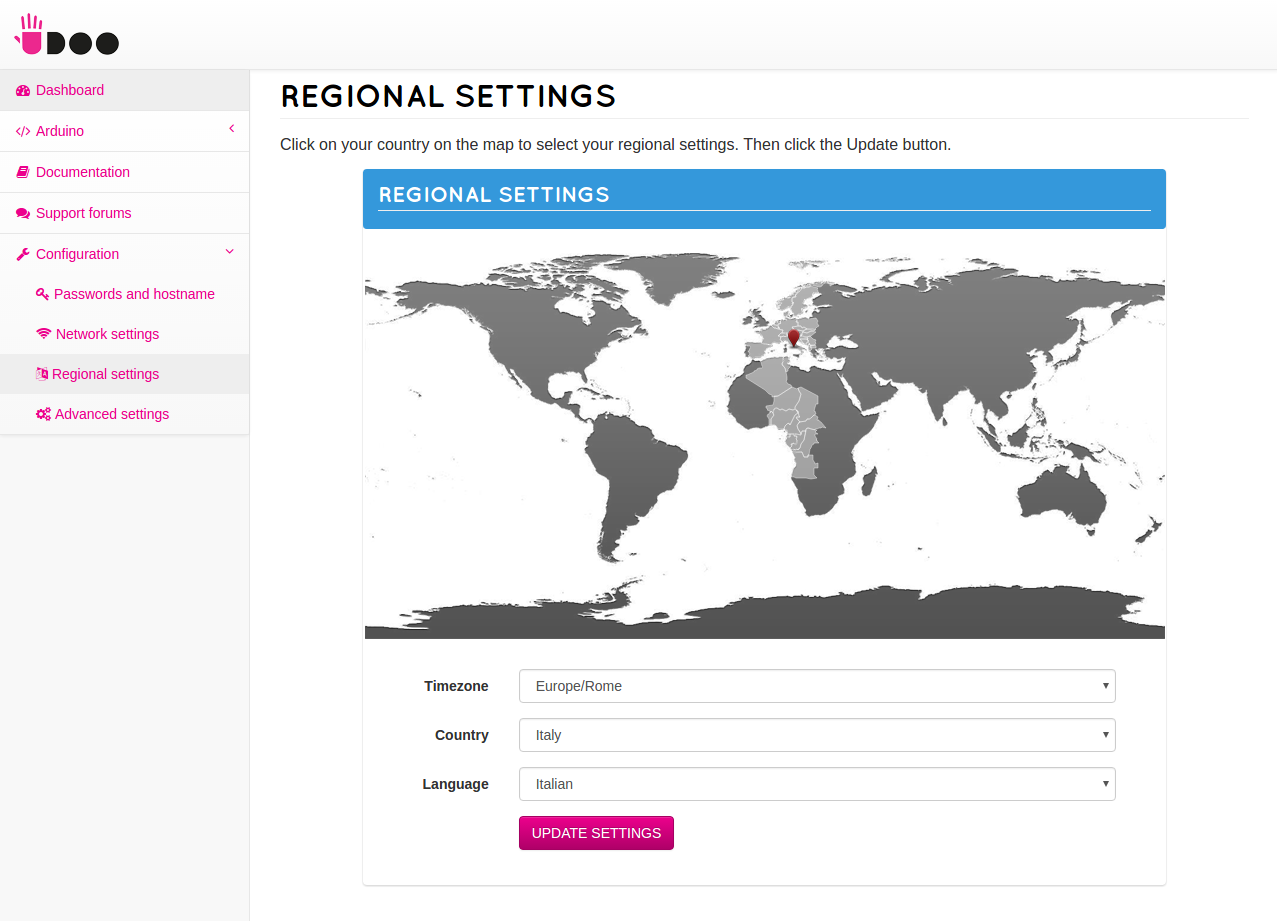
- On "Regional settings" you can set the locale, timezone and regional settings;
- On "Advanced settings" you can change the main video output device (e.g. HDMI or LVDS), enable/disable the Arduino core and change the TCP port where the Web Control Panel operates (so you can, for example, install a webserver on your board, like Apache or nginx),